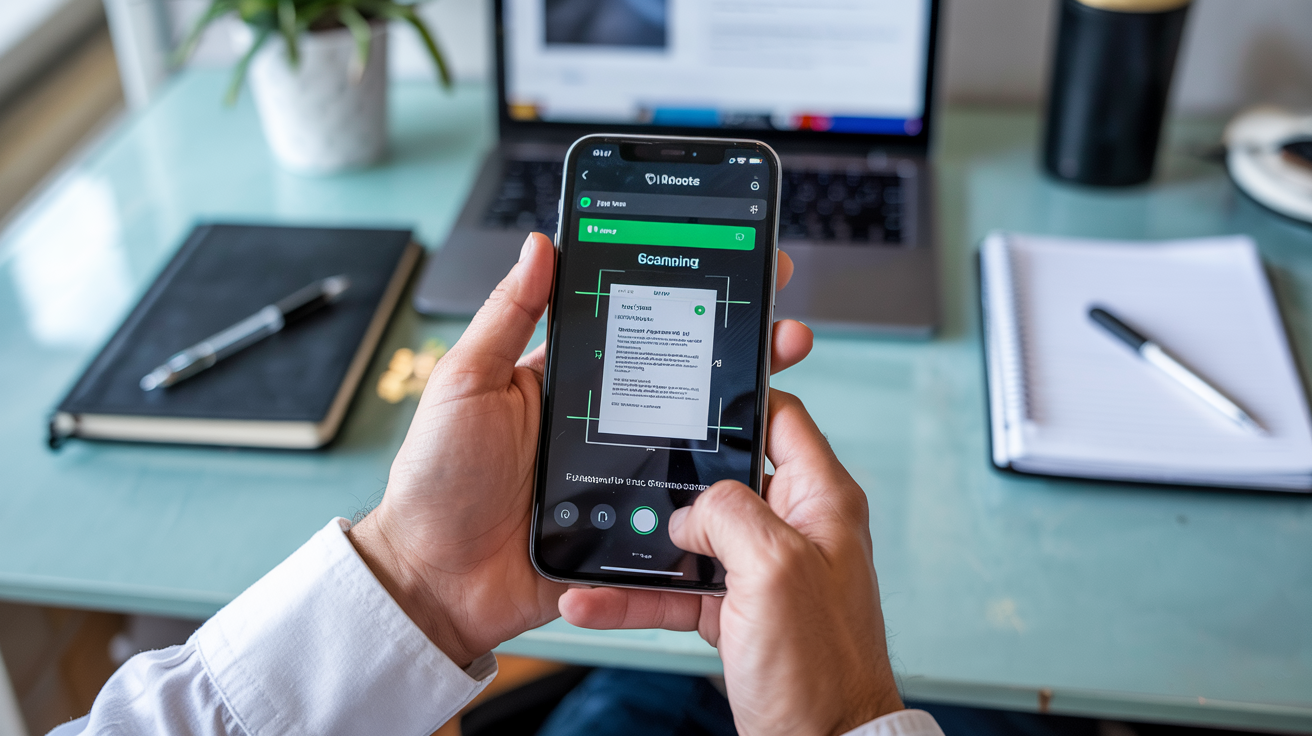
Scanning documents on your iPhone might seem like a modern-day miracle, especially when you realize how much time and hassle it can save. Imagine needing a document right away, and instead of running to a scanner or fax machine, you just pull out your iPhone and scan it in seconds. Sounds easy, right? That’s because it is!
Whether you’re scanning receipts, contracts, or even a business card, your iPhone has the tools you need to make it simple. Scanning is not just for document storage; it’s a way to digitize your life and improve your workflow.
Scanning is essential because it helps you manage your documents efficiently, stay organized, and boost productivity. Using your iPhone’s built-in tools like the Notes app and Camera app, or downloading third-party apps, you can scan anything from QR codes to multi-page documents.
Exploring iPhone’s Built-In Scanning Features
Your iPhone comes equipped with several powerful tools to make scanning quick and easy. Let’s dive into the features that make scanning on your iPhone a breeze.
1. Scanning Documents via the Notes App
The Notes app on your iPhone isn’t just for quick notes or lists. It’s actually a powerful tool that can help you scan, save, and organize documents—without needing any extra apps!
Here’s how you can use the Notes app to scan documents in a few simple steps:
-
Open the Notes App
Launch the Notes app on your iPhone. It’s already installed, so there’s no need to download anything extra. -
Create a New Note
Tap the “Create New Note” button (the square icon with a pencil) to start a new note. -
Tap the Camera Icon
In the new note, tap the small camera icon at the bottom of the screen. -
Select “Scan Documents”
From the options that appear, tap “Scan Documents.” -
Scan Your Document
Place your document in view of your iPhone’s camera. Your iPhone will automatically detect the edges of the document and take the scan for you. -
Adjust and Save
If needed, you can adjust the scan by cropping or rotating it. Once happy, tap Save to keep the document within your note.
Why Use the Notes App?
-
No Additional Apps Needed
The Notes app is already built into your iPhone. No need to search for or download third-party apps! -
Easy Organization
All your scans are automatically saved within the Notes app, making it easy to find and manage your documents. -
Seamless Sharing
You can quickly share your scanned documents via email, messaging apps, or cloud storage from within the Notes app.
Whether you’re scanning receipts, contracts, or handwritten notes, the Notes app keeps everything in one place—making your scanning process quick, efficient, and organized.
2. Using the Camera App to Scan QR Codes
QR codes are everywhere today—from event check-ins to quick access to websites or even making payments. Luckily, scanning them with your iPhone’s Camera app is quick, simple, and efficient!
Here’s how to scan a QR code with your iPhone in just a few easy steps:
Step-by-Step: Scanning QR Codes with the Camera App
-
Open the Camera App
Launch the Camera app on your iPhone. It’s already on your device, so there’s no need to download anything extra. -
Point the Camera at the QR Code
Hold your iPhone in front of the QR code you want to scan. Make sure the entire code is within the camera frame for best results. -
Wait for the Scan to Complete
Your iPhone will automatically recognize the QR code. When it does, a notification will pop up on your screen. -
Tap the Notification
Tap the notification to be redirected to the website, app, or action associated with the QR code. Whether it’s opening a webpage, downloading an app, or making a payment, your iPhone will do it instantly!
Why Use the Camera App for QR Codes?
-
Instant and Easy
Scanning a QR code with the Camera app is quick and requires no additional apps. Your iPhone detects the code automatically, making the whole process seamless. -
No Special App Needed
You don’t need to open any third-party app to scan QR codes. The Camera app does all the work for you! -
Access Content Instantly
Whether it’s a link to a website, a promotion, or an event check-in, scanning QR codes with the Camera app provides instant access with just one tap.
3. Third-Party Apps for Enhanced Scanning Features
If you need more advanced features for scanning, third-party apps like Adobe Scan or Microsoft Lens can take your scanning game to the next level.
These apps offer additional tools such as Optical Character Recognition (OCR), which can turn your scanned documents into editable text. This is super helpful if you work with a lot of written material that needs to be edited or searched.
Step-by-Step: Using Third-Party Scanning Apps
-
Download a Scanning App
Go to the App Store and download a scanning app like Adobe Scan or Microsoft Lens. These apps are free to use with optional paid features. -
Open the App and Scan Your Document
Open the app, point your camera at the document you want to scan, and follow the prompts to capture the image. The app will guide you through the process. -
Use OCR to Edit the Text
After scanning, use the OCR feature to turn the image into editable text. You can easily copy, paste, or edit the text without having to retype it manually. -
Save and Share Your Scanned Document
Once you’ve scanned and edited your document, you can save it as a PDF, and share it with others through email or cloud services like Google Drive or OneDrive.
Why Use Third-Party Scanning Apps?
-
More Advanced Features
While the built-in apps on your iPhone are great for basic scanning, third-party apps like Adobe Scan and Microsoft Lens offer OCR and PDF creation, making them perfect for people who need more functionality. -
Editable Text
With OCR, you can turn scanned text into editable content—perfect for editing, copying, or reusing text without retyping it. -
Cloud Storage Integration
These apps let you save your scans directly to cloud storage like Google Drive or iCloud, so you can access your documents anywhere.
How to Scan Documents Using the Notes App
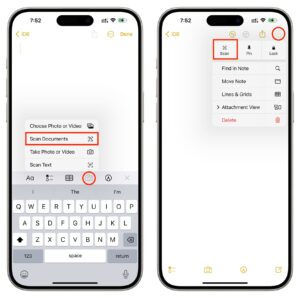
Scanning documents on your iPhone has never been easier with the Notes app. Here’s a simple guide on how to get started.
2.1. Setting Up for Document Scanning
Before scanning, make sure you’re in a well-lit area. Lay your document flat, and ensure that the camera lens is clean for the best scan quality. Once that’s ready, open the Notes app, tap the + icon, and choose “Scan Documents.”
2.2. Step-by-Step Instructions on Scanning
Now it’s time to scan! Once you’ve tapped “Scan Documents,” your iPhone will automatically detect the edges of your document and take a picture. You can adjust the edges manually if needed. After the scan, you’ll have the option to save it, rename it, or even edit it.
2.3. Editing and Organizing Scans for Future Use
Once your document is scanned, you can easily crop, rotate, or adjust the image for clarity. You can even organize your scanned files in folders within the Notes app or save them to cloud storage for access across devices.
Scanning QR Codes with the iPhone Camera
3.1. Quick Setup for Scanning QR Codes
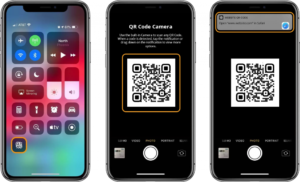
Scanning QR codes on your iPhone is incredibly fast. Just open your Camera app and point it at the code. The iPhone’s camera will automatically recognize the code and show the relevant information, whether it’s a URL or an app link.
3.2. What Happens After Scanning a QR Code?
Once the QR code is scanned, you’ll see a notification pop up. Tap it to follow the link or open the action related to the QR code.
3.3. Troubleshooting Common QR Code Scanning Issues
If the camera doesn’t recognize the QR code, make sure the code is well-lit and clearly visible. Adjust the angle and distance slightly. If all else fails, check for any obstructions, like dirt on the camera lens.
Advanced Scanning Features on iPhone
1. Scanning Multiple Pages (Batch Scanning)
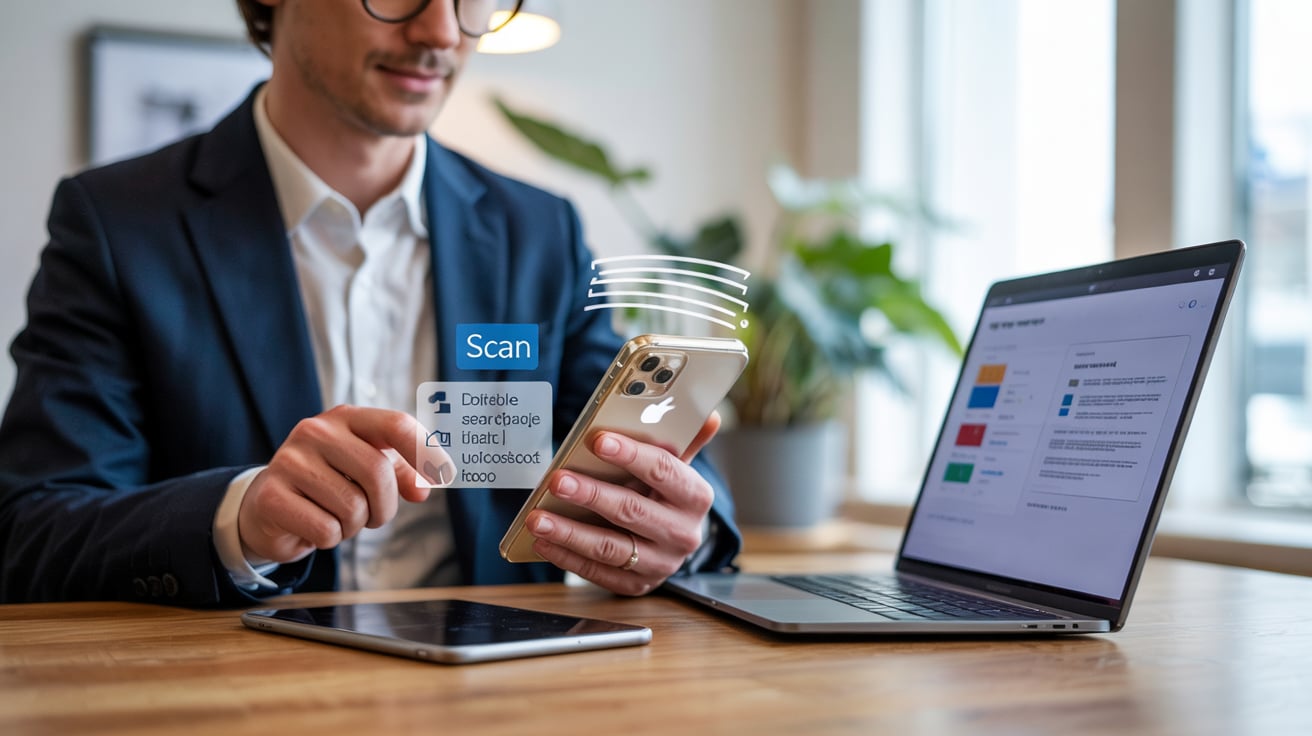
Have several pages to scan? No problem. Using the Notes app or third-party apps, you can scan multiple pages into a single document. This makes it easy to digitize contracts, forms, or multi-page reports.
2. Optical Character Recognition (OCR) and Scanning Text
Want to convert your scanned text into editable files? Apps like Adobe Scan and Microsoft Lens support OCR, so you can convert your scanned images into editable, searchable documents.
3. Saving and Sharing Scans Efficiently
You can easily save your scans as PDFs or images and share them through email, text, or cloud services like iCloud or Google Drive. This makes it simple to store or send scanned documents instantly.
Troubleshooting Common Scanning Problems
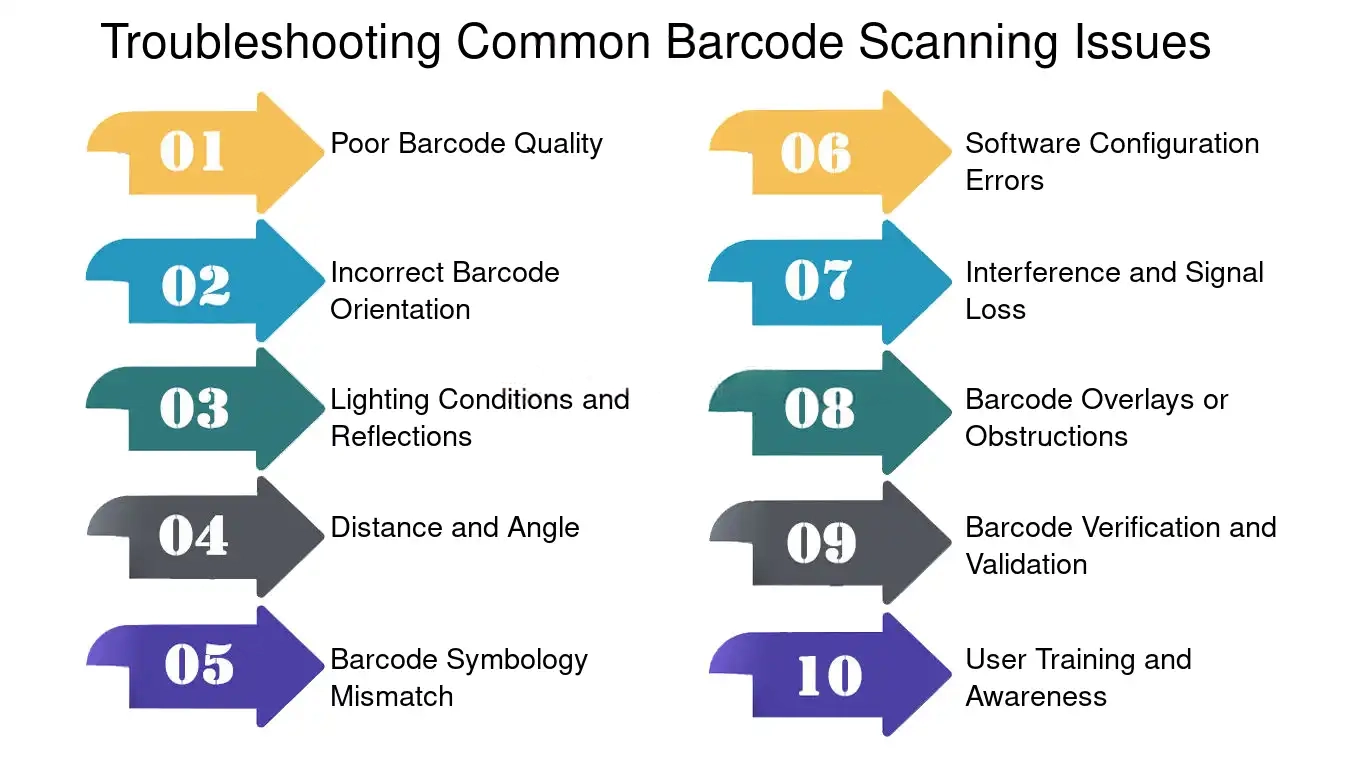
1. Camera Not Detecting Documents or QR Codes
Ensure that your document is in focus and aligned within the camera frame. If it’s not detected, try adjusting the position or lighting.
2. Poor Quality Scans
If your scan is blurry, make sure your iPhone camera is clean. Adjust the angle, and ensure the document is well-lit for a clearer scan.
3. Issues with Saving or Sharing Scans
If you’re having trouble saving or sharing, ensure you have enough storage on your device. Also, check for app updates that might resolve any issues.
Tips and Best Practices for Efficient Scanning
Scanning documents on your iPhone is simple, but following a few tips can make the process even faster, clearer, and more organized. Here’s how to get the best results:
1. Use Your iPhone’s Built-in Tools for Quick Access
-
Leverage Siri Shortcuts to set up quick actions for scanning.
-
You can create a shortcut to instantly open the Notes app or any other scanning app, saving you time.
2. Optimize Scanning for Better Accuracy and Clarity
-
Adjust the lighting: Make sure there’s enough light on your document so the camera can clearly capture all the details.
-
Keep your document flat: Lay the document on a smooth surface and align it with the camera lens for the best scan.
-
Hold your iPhone steady: A steady hand helps avoid blurry scans.
3. Organize Scanned Files for Easy Retrieval
-
Use the Notes app: Create folders within the app to organize your scans by type (e.g., receipts, contracts, etc.).
-
Cloud storage: Save scanned documents in iCloud or Google Drive for easy access and sharing.
4. Keep Your iPhone Camera Clean and Ready for Action
-
Clean your camera lens regularly to avoid smudges that can affect scan quality. A clean lens ensures your scans are sharp and clear.
Conclusion
By now, you’ve learned how to use your iPhone to scan documents, QR codes, and even multi-page reports with ease. Whether you’re using the built-in Notes app, the Camera app, or a third-party app, scanning has never been so accessible.
Start applying these tips today, and you’ll be scanning like a pro in no time. Don’t forget to organize your scans and keep your iPhone ready for quick, efficient scanning whenever you need it!
You can also read:
